
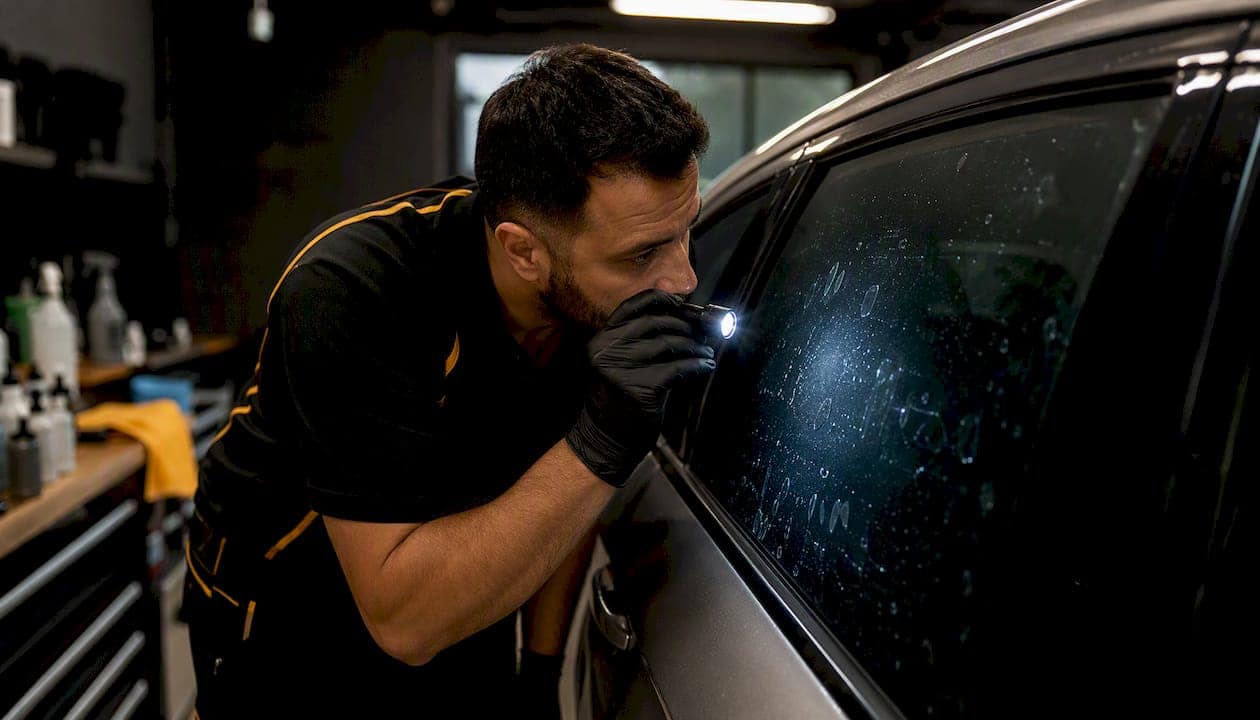
Most window tint bubbles right after installation are temporary moisture pockets that disappear on their own. The single most important thing you can do right now: document them with photos and wait. Only escalate if they grow, obstruct your view, or refuse to clear after the full curing window.
Here’s what to do in the first 24–72 hours:
Pro Tip: Photograph your windows at a 45-degree angle in natural light. This angle shows bubble texture, edge proximity, and any color shifts far better than a straight-on shot — and it’s exactly what an installer needs to assess a warranty claim remotely.
The distinction that matters: small, hazy, clustered bubbles near the center of the glass are almost always normal curing behavior. Large, sharp-edged, or growing bubbles — especially near edges or with color changes — are a problem worth acting on.
Tint film is applied wet. A slip solution sits between the glass and adhesive during installation, letting the installer position the film before it bonds. That moisture has to go somewhere, and until it evaporates through the film, it pools into small pockets. That’s the most common cause, and it’s entirely expected.
But not every bubble is a moisture pocket. Dust and debris trapped under the film create tiny, grainy dots that never evaporate — they’re permanent unless the film is removed and reapplied. Poor squeegee technique leaves elongated “finger” bubbles near edges. Adhesive outgassing can occur when low-quality films off-gas under heat. And in older tint, progressive adhesive failure causes bubbles that spread over time.
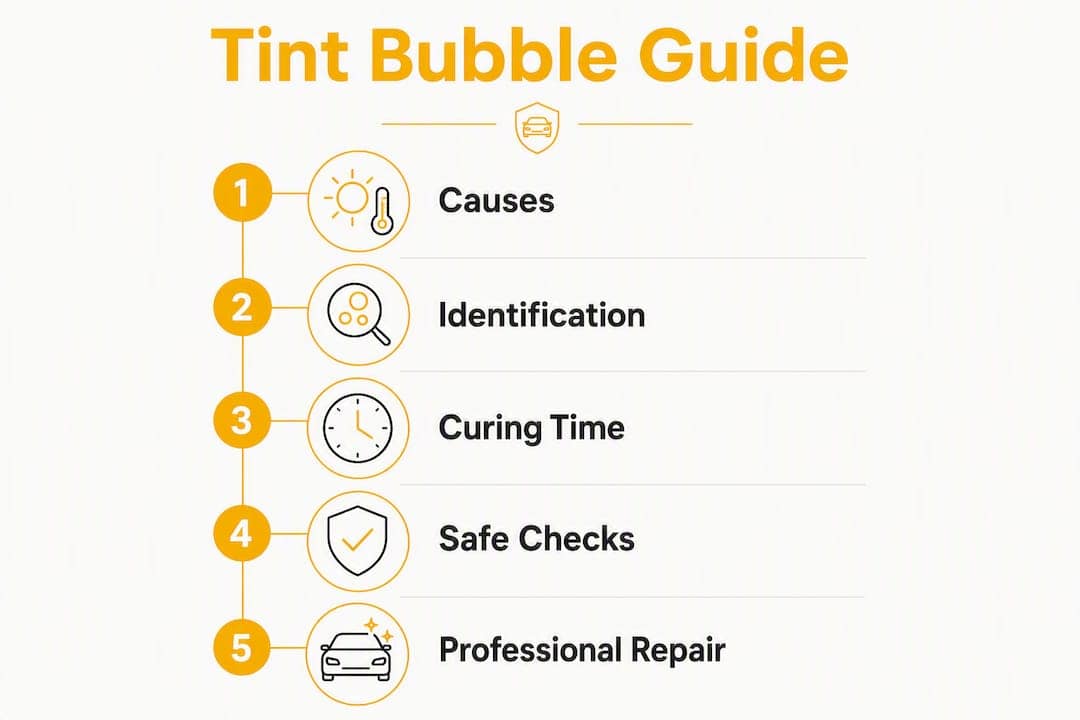
The table below maps what you see to the likely cause:
| Appearance | Likely Cause | Permanent? |
|---|---|---|
| Hazy, clustered, milky | Trapped installation moisture | No — evaporates during curing |
| Tiny, grainy dots | Dust/debris under film | Yes — requires removal and reapplication |
| Elongated near edges | Poor squeegee or heat-forming | Often yes — may need localized repair |
| Film lifting at corners | Edge adhesion failure | Yes — professional repair needed |
| Smooth blisters, discoloration | Heat-induced adhesive breakdown | Yes — replacement typically required |
Installation environment plays a bigger role than most owners realize. A shop with climate control and filtered water dramatically reduces contamination risk compared to a garage install on a dusty afternoon. Film quality matters too: premium ceramic films have stronger adhesive chemistry and better thermal stability than entry-level dyed films, which means fewer heat-related problems years down the road.
Not all bubbles behave the same, and the type tells you whether to wait or call.

Water pockets look hazy and milky, often clustered across the middle of the glass. Press gently near (not on) the bubble and you’ll feel slight give. They shrink visibly over days.
Dust specks are tiny, grainy, and fixed. They don’t shift or shrink. Run a fingernail lightly along the glass surface and you’ll feel a slight raised texture. These don’t evaporate — the speck is physically trapped.
Fingers are elongated bubbles, usually within an inch of the window edge. They’re a sign of insufficient squeegee pressure or inadequate heat-forming on curved glass during installation.
Edge lifting is the film peeling away from the corner or bottom edge. You can see the film separating from the glass. This is adhesion failure and won’t self-correct.
Heat blisters appear months or years after installation, often with a brownish or purple tint to the film nearby. Smooth, dome-shaped, and usually growing. This is adhesive breakdown from prolonged UV and heat exposure.
Pro Tip: Check your windows at two different times of day — once in morning shade and once in direct afternoon sun. Moisture bubbles often look worse in heat (they expand slightly) but are still temporary. A bubble that looks identical in both conditions and has a hard, grainy center is almost certainly a dust speck.
Quick in-person checks you can run in under five minutes:
The staged timeline most shops observe: days 1–3 bring maximum haziness, week 1 shows visible shrinking, week 2 clears most bubbles under normal conditions, and weeks 3–4 finish the job. In cold or humid climates, the full process can stretch to 4–6 weeks.
What’s normal during curing: bubbles shrink, the milky appearance fades, and the film gradually clarifies. Some days it looks worse after a cold night — that’s fine. The trend over a week matters more than any single day.
What’s not normal: bubbles that grow instead of shrink, bubbles that appear for the first time weeks after installation, any film discoloration, or a bubble that develops a hard center. Those are warning signs.
Pro Tip: Take a photo of the same window from the same angle every three days during the curing window. Side-by-side comparison is far more reliable than trying to remember whether a bubble looked bigger last Tuesday.
Climate matters more than most installers tell customers upfront. A hot, dry summer in Calgary or Winnipeg accelerates evaporation — you might see clear film in 10 days. A cold, damp fall install can still show faint haze at week five and still be completely normal. Curing guidance should be climate-specific, and any installer worth their rate will set your expectations based on the season you’re in.
When bubbles appear years after a clean install, the cause is almost never moisture. Adhesive failure is progressive — once it starts, the bubbles spread. Localized repairs rarely hold. Replacement is the durable answer.
The boundary is simple: patient observation and careful documentation are safe. Piercing, aggressive heat, or peeling the film risks permanent damage that no installer can undo cheaply.
Safe steps, in order:
Never do these:
Pro Tip: If a bubble is bothering you, cover it with a small piece of painter’s tape to mark its exact boundary. Check it again in 72 hours. If the bubble hasn’t grown beyond the tape line, it’s almost certainly moisture and still curing.
Call a professional when: bubbles are large or tactile air pockets, they’re growing, there’s color shifting in the film, edge lifting is visible, or any bubble persists past the full curing window without change.
A good technician doesn’t just look at the bubbles — they assess the whole picture. The inspection starts with detailed photos under controlled lighting, then a check of the glass surface condition (scratches or contamination on the glass itself can cause adhesion problems), and an adhesive integrity test by pressing gently along the film edge to feel for delamination.

From there, the decision is repair or replace:
| Situation | Likely Decision |
|---|---|
| Fresh install, isolated moisture pockets | Wait; no repair needed |
| Fresh install, isolated dust speck | Localized lift, clean, reapply section |
| Fresh install, multiple dust specks | Full removal and reapplication |
| Film under 2 years, small adhesive failure | Localized repair possible |
| Film over 3–4 years, spreading bubbles | Full replacement recommended |
| Any film with color change or delamination | Full replacement |
Professional repair workflow involves lifting the affected section, cleaning the glass with solvent, removing adhesive residue with proper tools, and reapplying or replacing the film. Rear defroster windows require special care — scraping those lines without training destroys the heating element.
Cost ranges vary by market and film type, but localized repairs typically run less than a full replacement. Full replacement costs depend on the number of windows and film grade. Get a written quote before authorizing any work, and bring your original installation receipt and warranty documentation.
Pro Tip: Ask the shop to show you the glass surface after removal. If the glass itself has scratches or contamination, that’s a separate issue that needs addressing before new film goes on — otherwise you’ll be back with the same problem.
Ceramic films hold up significantly better over time. Their stronger adhesive chemistry and thermal stability mean fewer heat blisters and less adhesive breakdown after years of sun exposure. If you’re replacing film, it’s worth the upgrade.
Prevention starts before you book the appointment.
Choosing an installer:
Choosing the right film: Premium ceramic films resist thermal breakdown and outgassing better than basic dyed films. The upfront cost difference pays back in fewer repairs and longer film life. Dyed films fade and delaminate faster under sustained UV exposure — a real factor in climates with strong sun.
Post-install care:
Long-term habits: Vehicles garaged regularly last longer on film because they avoid daily thermal cycling. If your car sits in direct sun for hours every day, plan for a professional inspection every two to three years to catch early adhesive wear before it becomes a full replacement.
Most post-install window tint bubbles are moisture pockets that clear within 1–4 weeks under normal conditions (and up to 4–6 weeks in cold or humid climates); document them, avoid rolling windows, and contact your installer only if they persist, grow, or affect visibility.
| Point | Details |
|---|---|
| Most early bubbles are normal | Moisture from wet application evaporates through the film within 1–4 weeks under normal conditions (and up to 4–6 weeks in cold or humid climates). |
| Document before you act | Photograph size, location, and edge proximity immediately — these photos protect your warranty claim. |
| Never poke or peel | Pin punctures and peeling create permanent damage; patient observation is always the safer first step. |
| Late-life bubbles mean replacement | Bubbles appearing years after install signal adhesive failure; localized repairs rarely hold long-term. |
| The PPF Company offers professional tint services | The PPF Company provides window tinting in Calgary and Winnipeg with warranty-backed installation. |
The most common mistake isn’t poking bubbles or rolling windows too soon — though both happen constantly. It’s the assumption that any bubble means a bad install, which sends owners back to the shop before the film has had a chance to cure.
Installers are clear on this: the wet application process almost always creates temporary moisture pockets. Judging a tint job on day two is like judging a paint job before it dries. The film needs time, and the curing window exists for a reason.
What actually creates unnecessary returns: rolling windows down on day one (the film edge hasn’t bonded yet, and the stress creates lifting that looks like an installation defect but wasn’t), and poking bubbles with a fingernail or pin (which turns a temporary moisture pocket into a permanent hole). Both are fixable problems that owners turn into unfixable ones.
The better approach: photograph, wait the full curing window, and then evaluate. If something is genuinely wrong after that window, your installer’s warranty should cover it. Use it. A shop that won’t honor a warranty on a fresh install isn’t a shop worth returning to anyway.
The claims in this article draw from installer guidance and industry sources. For deeper reading:
Persistent bubbles, edge lifting, or film that’s years past its prime all point to one thing: it’s time for a professional set of eyes. The PPF Company handles window tinting in both Calgary and Winnipeg, with warranty-backed installation in a climate-controlled environment that eliminates the dust and temperature variables that cause most contamination bubbles in the first place.

The team brings over 30 years of combined experience across PPF, ceramic coatings, and window tinting — so if your current film needs assessment or replacement, you’re getting a technician who can tell the difference between a moisture pocket and adhesive failure on sight. Premium ceramic film options are available for owners who want longer-lasting protection with less risk of heat-related breakdown over time. Book a consultation or get a quote directly through The PPF Company’s service pages.
Most will. Moisture bubbles typically clear within 1–4 weeks under normal conditions, though in cold or humid conditions it can take up to 4–6 weeks. Dust-speck bubbles and adhesive failure bubbles do not self-resolve and require professional attention.
Safe first steps are patience and documentation. For fresh moisture bubbles, parking in mild sunlight helps. For persistent or growing bubbles, a professional will inspect the adhesive, attempt localized repair if contamination is isolated, or recommend full removal and reapplication for adhesive failure.
Bubbles appearing years after a clean install almost always signal progressive adhesive failure. Heat cycling, UV exposure, and film age break down the adhesive bond over time. Once delamination starts, it spreads — replacement is the reliable fix.
The wet-application process traps moisture between the film and glass. This is normal and expected on fresh installs. Wait the full curing window before judging the quality of the job.
No. Pin punctures create permanent holes that become entry points for moisture and dirt, accelerating peeling and discoloration. What starts as a temporary cosmetic issue becomes a permanent defect.