
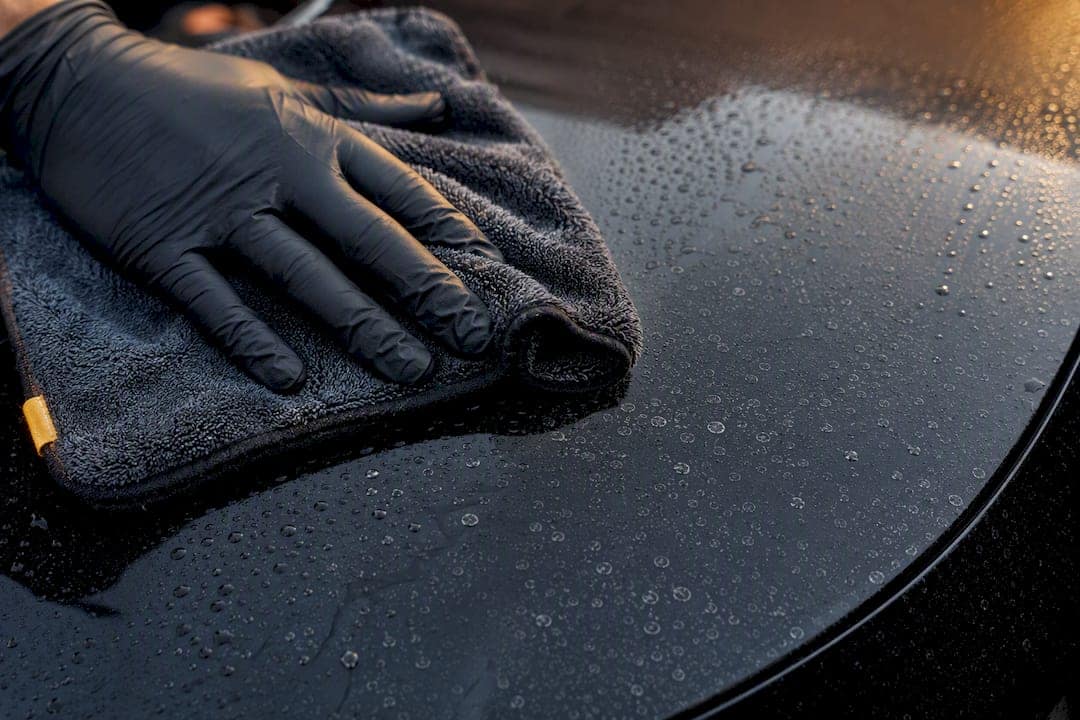
Most water spots on paint protection film are removable, but the fix depends entirely on how long they’ve been sitting. Fresh mineral deposits (Type 1) usually lift with a PPF-safe cleaner and a proper wash. Etched spots (Type 2) need mechanical polishing. Deep or long-neglected etching (Type 3) may never fully disappear. Your first move: stop touching the spot with anything abrasive, rinse it with plain water, and test any product on a small hidden area before treating the whole panel.
TL;DR:
- Water spots on paint protection film are removable if caught early, with surface residue often resolving through mild cleaning methods; etched spots require careful polishing.
- Heat and time accelerate water-etching, making immediate action and gentle testing crucial to prevent permanent damage.
- Using a pH-neutral wash, distilled water rinse, and proper drying techniques drastically reduces the likelihood of lasting spots, and aggressive compounds should be avoided.
- Polishing is only suitable for superficial etching; deep penetration may require panel replacement, emphasizing the importance of professional assessment for persistent spots.
- Preventative measures like prompt drying, adding a ceramic coating or sealant, and avoiding automatic brush washes help maintain film clarity and minimize water-spot formation.
Act fast and go gentle first. Here’s the order of operations that keeps you from turning a five-minute fix into a $400 polishing bill.
The Water Spot Removal Guide makes a point worth repeating here: mild treatment first, always, and always test before committing to a full panel. Chemistry that’s safe on clear-coat paint isn’t automatically safe on urethane film or vinyl wrap, and the two surfaces don’t always react the same way to the same product.
Not every water spot is the same problem, and treating an etched spot like a surface stain wastes time and can make things worse. PPF damage from hard water generally falls into three categories, and the progression from one to the next is driven mostly by time and heat.
A few quick tests help you tell them apart before you commit to a treatment. Run a distilled-water rinse over the spot. If it disappears or fades significantly, you’re dealing with Type 1. Next, try the fingernail or IPA wipe test: dab a cotton pad with diluted isopropyl alcohol and wipe gently. Surface residue will come off; etched deposits will resist and may still feel slightly rough afterward. Taking a timestamped photo before and after each attempt is a habit worth building, since spot progression can be gradual enough that you won’t notice it without a comparison.
Heat accelerates all of this. A water spot that would sit harmlessly for a week in shade can etch into the film in a few hours of direct summer sun, because the water evaporates and concentrates the minerals faster, and the heat softens the topcoat just enough for bonding to happen. This is why the same puddle of hard water causes barely visible spotting on a car parked in a garage and a permanent etch mark on one parked in a driveway.
This is the core protocol, ordered from safest to most intensive. Never skip a step to get to the “stronger” method faster. Most spots resolve at step two or three.
Distilled-water rinse and pH-neutral wash. Use the two-bucket method with a plush wash mitt, working top to bottom in straight lines rather than circles. Dry immediately with a plush microfiber towel or an air dryer, since letting the rinse water sit and evaporate reintroduces the exact mineral problem you’re trying to fix.
PPF-safe detail spray or dedicated water-spot remover. Mist onto a cool surface (never in direct sun), let it dwell for the time listed on the product, then wipe with a clean microfiber and rinse. According to the Water Spot Removal Guide, the biggest mistake here is assuming a product labeled “automotive safe” is automatically safe for film and vinyl. Always test a hidden panel first.
Hot-towel method. Soak a microfiber towel in water heated to roughly 140 to 160°F (hot tap water, not boiling), wring it out, and lay it over the spot for 60 to 90 seconds. The heat helps soften mineral bonds without abrasive contact. Rewet the towel if it cools before the spot lifts, and never use a heat gun or hair dryer directly on the film, since concentrated dry heat can distort the material.
Diluted white vinegar or isopropyl alcohol. A mix of roughly one part white vinegar to three parts distilled water can help break down mineral deposits that survive the hot-towel step. Apply with a spray bottle, dwell for two to three minutes, then rinse thoroughly. Full-strength vinegar or high-concentration IPA can degrade the film’s adhesive or topcoat over repeated use, so dilution and spot testing aren’t optional extras. They’re the whole point.
Clay bar for bonded contaminants. If the spot has any texture but hasn’t progressed to visible etching, a fine-grade clay bar with plenty of lubricant can lift bonded minerals without cutting into the film. Work in small sections, keep the surface wet, and fold the clay frequently to avoid dragging grit back across the panel. The research on hard water damage backs clay and light polishing as valid next steps for exactly this kind of bonded, not-yet-etched contamination.
What to avoid entirely: abrasive pads or scrub brushes, dish soap (its degreasers strip film sealants and can dull the topcoat), any undiluted acid, and aggressive machine compounding if you haven’t done it before. A rotary buffer in inexperienced hands generates heat fast, and heat plus pressure on film is how a water spot problem turns into a “you need a new panel” problem.
Pro Tip: Keep a small notebook or phone note tracking which product and dwell time worked on which spot. Hard water composition varies by neighborhood, and what clears a spot on your hood in Calgary’s north side might need a longer dwell time if you’re washing near Winnipeg, where mineral content runs differently. Knowing your own water’s behavior saves guesswork next time.
Polishing enters the picture once a spot has crossed from residue into actual etching, meaning the mineral deposit has altered the film’s topcoat rather than just sitting on it. Light machine polishing with a PPF-safe finishing compound can level out that etched texture and restore clarity, but it comes with a real tradeoff: every pass removes a small amount of the film’s protective top layer.
That tradeoff is why installers treat polishing as a targeted repair, not a blanket solution. Run a rotary or dual-action polisher across an entire hood because one section has etching, and you’ve thinned film that didn’t need correcting in the first place, leaving it more vulnerable to future scratches and UV wear.
A few things separate a safe polish job from a risky one:
Pro Tip: If a spot only shows up under certain light angles and disappears when you wet the panel, it’s likely still Type 1 or early Type 2. That’s a good sign polishing isn’t necessary yet, just a more thorough cleaning cycle.
Book a professional the moment you notice persistent roughness that survives multiple cleaning attempts, etching that covers a large section rather than an isolated spot, or any sign of edge lifting. Edge lifting in particular suggests water has already worked its way under the film, which is a different and more urgent problem than surface spotting.
The cheapest fix for water spots is never needing one. A consistent maintenance routine does more to protect your investment than any single product.
Routine care built around pH-neutral shampoo, the two-bucket method, and prompt drying is backed by maintenance guidance from film manufacturers and installers alike as the single biggest factor in how long a film stays clear and spot-free. It’s not glamorous advice, but it’s the difference between film that looks new in year three and film that already needs correction by month six.
When a vehicle comes in with water-spot complaints, a professional process starts with identifying which type of spot is actually present rather than assuming the worst. That distinction changes everything about the recommended fix.
That measured approach, test first, correct locally, reseal after, rather than compounding an entire hood because one section has a spot, mirrors recommendations installers make for exactly the same reason: aggressive full-panel polishing thins film that didn’t need correction. In the first 7 to 14 days after any new installation, technicians also monitor curing progress and edge seating closely, since film is most vulnerable to lifting and contamination before it’s fully cured.
Letting water air-dry on film is the single most common mistake, followed closely by reaching for dish soap because it’s already under the sink. Dish soap strips the protective sealants that help film resist staining in the first place. Third on the list: drying with a cheap, thin towel that drags grit across the surface instead of lifting it away.
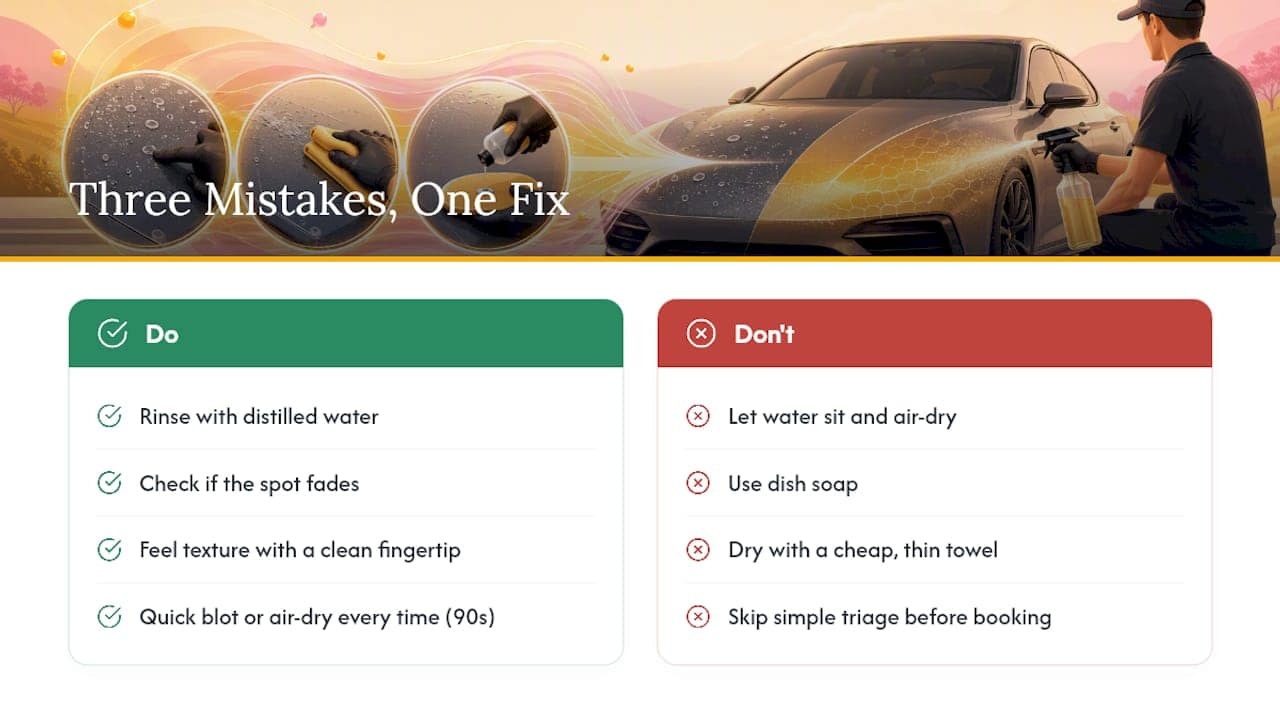
Before booking anyone, do this triage yourself: rinse with distilled water, check if the spot fades, and feel for texture with a clean fingertip. That alone tells you whether you’re dealing with something simple or something that needs a professional look.
A habit that prevents most of this from ever happening: a quick blot or air-dry pass immediately after any wet drive or wash, every time, no exceptions. It takes ninety seconds and it’s the difference between film that stays clear for years and film that needs correction every spring.
Some water spots respond to a weekend’s worth of careful cleaning. Others need eyes and tools that only come with regular installer experience, especially once you’re weighing whether to polish a panel or replace it. This approach follows the checklist above: diagnose the spot type first, test a small patch, then propose either a targeted polish and reseal or a replacement plan depending on how deep the etching actually goes.
A professional appointment typically covers a full diagnostic pass over the vehicle, a controlled test on one panel before anything broader happens, and a reseal step once correction is complete, the same sequence that keeps film thickness intact instead of guessing your way through it with a home polisher. If your spots wipe away with a distilled rinse and pH-neutral wash, DIY care is the right call. If they’ve got texture, cover a wide area, or show any sign of lifting at an edge, that’s the point to stop experimenting.
For ongoing care between visits, PPF’s PPF maintenance guide covers the drying tools and wash routines that keep spots from forming in the first place. If you’re considering an added layer of protection, the ceramic coating options in Calgary and Winnipeg both pair well with existing film to improve beading and cut down on residue dwell time. Book a diagnostic through The PPF Company’s Cochrane service page if a spot on your vehicle has already crossed from residue into visible etching.

For readers who want the underlying detail behind this protocol, the hard water spot breakdown from Swissvax explains the Type 1 through Type 3 progression in more depth. The step-by-step removal guide from How To Auto Detail covers product testing and dilution ratios. For drying technique and pressure-washer safety specifically, Olson’s Custom Detailing’s maintenance guide is worth bookmarking, and Tinterz’s PPF care guide lays out a full seasonal maintenance schedule. For a complementary walkthrough of safe removal steps from a detailing specialist, see Diamondbrite’s water spot guide.
Small air or moisture bubbles that appear shortly after installation often flatten out on their own during the curing period, typically within the first one to two weeks. Bubbles that persist beyond that window, or that appear months later, usually indicate trapped moisture and need an installer to reheat and reseat the film.
Type 2 etched spots can often be buffed out with light, PPF-safe polishing on a targeted area, but every pass removes a small amount of the film’s protective topcoat. Type 3 spots that have etched too deep usually can’t be fully corrected through polishing and may need a panel patch or replacement.
Start with the same mild approach used for PPF: a distilled-water rinse, pH-neutral wash, and a PPF-and-vinyl-safe detail spray if residue remains. Vinyl wraps generally tolerate less aggressive chemistry and heat than film, so skip the hot-towel and machine-polishing steps unless a professional confirms your specific wrap can handle them.
No. WD-40 isn’t formulated for film or vinyl surfaces, and its petroleum-based solvents can degrade adhesives, discolor the topcoat, or leave a residue that attracts more dirt. Stick to products specifically labeled safe for PPF or automotive vinyl, and always spot-test before applying anything new to a full panel.