
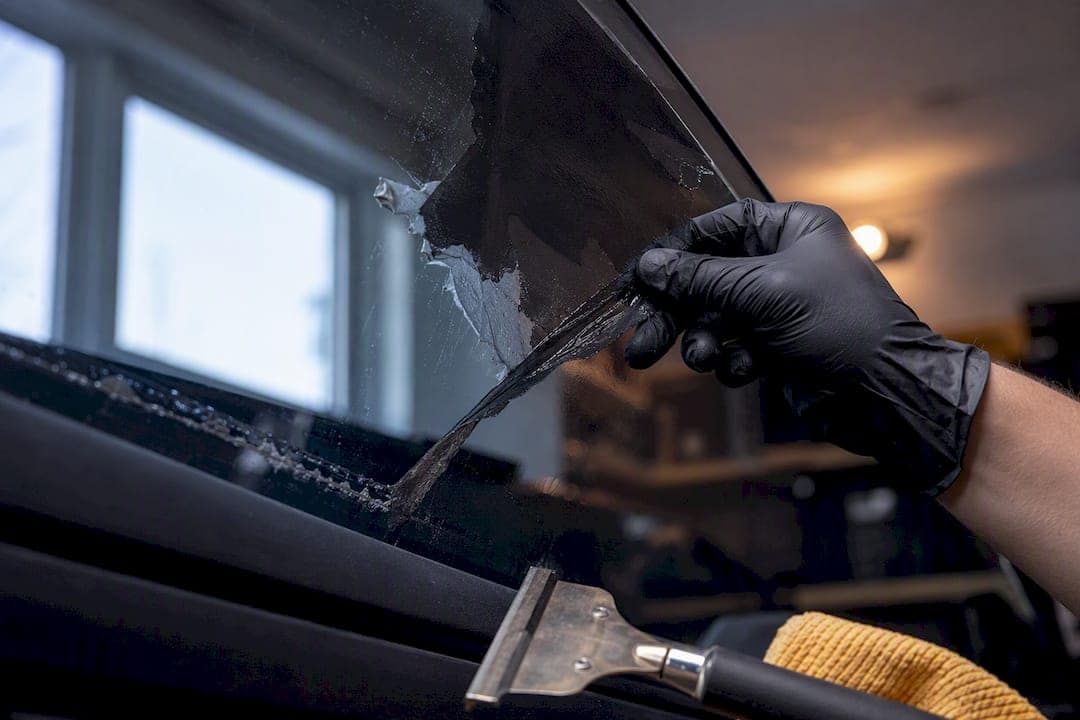
The fastest safe way to strip old tint is heat first, adhesive second: steam or warm the film until it peels off in sheets, then dissolve the leftover glue with isopropyl alcohol or a commercial adhesive remover. Expect a moderate amount of time per side window and several hours for a full car. Stop and call a shop if you hit brittle film over the rear defroster or scratches you can’t explain.
TL;DR:
- Heating the tint to soften the adhesive is the safest, most effective removal method, especially for curved or rear windows, before peeling it off in sections.
- Using plastic tools and working in small sections reduces the risk of scratching glass or damaging rear defroster lines during removal.
- Isopropyl alcohol at 90 percent or higher effectively dissolves leftover adhesive if soaked for a few minutes, avoiding harsh scrapers or abrasive finishes.
- Avoid excessive heat or metal blades near rear defrosters, and always move heat sources to prevent line damage or glass scratches.
- DIY removal typically takes between 20 and 40 minutes per side window, with full vehicle jobs requiring several hours and care to prevent costly repairs.
Tint doesn’t fail quietly. Once the adhesive layer starts breaking down, you’ll see it before you feel it.
Hold a flashlight at a low angle against the glass. If you see a gray film or sticky haze between the tint and the glass, that’s degraded adhesive, and it won’t get better on its own. Bubbling near a rear defroster is the one sign that should make you slow down. Peeling near the edges is a good time to remove it yourself; heavy bubbling across the whole rear window is a sign to read the causes of tint peeling before you touch a scraper.
You don’t need a garage full of gear, but skipping the right tools is how people end up scratching glass or scorching upholstery.
Line the dashboard and door panels with towels before you start heating anything, and crack the windows for airflow if you’re using solvents indoors. Ammonia-based products need real ventilation. Work in a garage with the door open or outdoors, and keep the spray away from painted trim and rubber seals, which can discolor or degrade with repeated solvent contact.
Pro Tip: Test any solvent on a hidden corner of trim or rubber first. Isopropyl alcohol is usually safe, but some adhesive removers can soften cheap plastic or dull paint if left sitting too long.
Not every window calls for the same tool, and guessing wrong is how people end up with scratched glass or a scorched dashboard.
Before you touch a scraper, roll the window down about a third if it’s still moving freely. That gives you access to the top edge without cracking the glass, and it lets you work the film from a corner instead of the middle.
Budget 15 to 20 minutes of actual peeling time per window once you’re in a rhythm, longer if the film is old and brittle.
Pro Tip: If a section won’t budge after two reheats, don’t keep yanking. Stop, soak that patch with isopropyl alcohol from underneath the lifted edge, and give it a minute. Trapped moisture between film and glass makes the next pull much easier.
Peeling the film is only half the job. What’s left behind, that gray, tacky haze, is the harder half, and it’s the step most DIYers rush.
Start with isopropyl alcohol at 90% or higher, which is recommended for effective automotive surface care. Spray a generous amount, cover the area with a damp towel for a couple of minutes to stop it from evaporating, then scrape with a plastic blade using single-direction strokes rather than back-and-forth scrubbing, which is more likely to scratch. If the alcohol alone isn’t cutting it, step up to Goo Gone or a 3M adhesive remover, following the same soak-then-scrape approach. WD-40 works in a pinch as a household backup, but it leaves an oily film that needs a thorough alcohol wipe-down afterward, so treat it as a last resort rather than a first choice.
A common mistake is assuming glass cleaner alone removes adhesive haze: a thin adhesive layer can be invisible under normal light and only shows up when you check at an angle. If you’re still scraping after three or four solvent applications on the same spot, that’s usually a sign that you should soak longer rather than scrape harder.
Rear windows carry embedded defroster lines, and those thin metal strips don’t forgive rough handling. Metal razor blades are the leading cause of permanent defroster damage, because a single hard scrape can sever a line that costs real money to repair.
If a line comes up cold or you notice a visible break, stop and get it looked at. Replacing a rear window defogger element is a bigger bill than any tint job.
Pro Tip: Run your hand lightly over the glass after scraping. If you feel any grooves or ridges, you’ve likely nicked a defroster line or the glass itself, and it’s worth having a shop confirm before you reapply new film.
Check your work before you call it done. Angle a flashlight across the glass in a dim room, or wait for low sun, and look for cloudy patches; that’s leftover adhesive haze hiding in plain sight.
If the glass comes back clean and scratch-free, you’re ready to either drive as-is or move on to new film. If you’re prepping for reinstallation, the aftercare guide covers what to check before the new tint goes on.
Old tint film itself isn’t hazardous waste, but it’s not exactly recyclable curbside either. Most polyester window film is a mixed-material product, film layers bonded to a metalized or dyed coating, which means standard plastics recycling programs won’t take it. The practical move is to bag it up with your regular household trash once it’s fully peeled off. Let it dry out if it’s still damp from steaming, since wet film balled up in a bag can start to smell within a day or two.
Adhesive-soaked towels and rags are the part people overlook. If you used isopropyl alcohol, a standard rag can go in the trash once it’s fully dry, since the alcohol evaporates and doesn’t leave a flammable residue behind. Rags soaked in Goo Gone, 3M adhesive remover, or WD-40 are a different story. Petroleum-based solvents on cloth can be a spontaneous combustion risk in an enclosed trash bag, especially in a hot garage. Lay those rags flat outside to fully air-dry before bagging them, rather than balling them up wet.

Empty solvent containers and spray bottles typically go in with regular recycling once they’re empty, but check your municipal program, since rules vary by city. If you used an ammonia-based solution for the trash-bag method, don’t pour leftover liquid down a household drain in large quantities. Small residual amounts rinsed with plenty of water are generally fine, but a half-full bottle is better taken to a household hazardous waste drop-off, which most municipalities offer for free a few times a year.
Adhesion problems on new tint almost always trace back to what happened during removal, not the film itself. If any haze or oily solvent residue is left on the glass, new adhesive won’t bond evenly, and you’ll see bubbling again within weeks instead of years.
The glass needs to be genuinely dry and residue-free, not just visually clean. After your final alcohol and glass cleaner pass, let the window air-dry for a few minutes rather than wiping it dry immediately, since trapped moisture in tiny scratches or pits can work its way back to the surface and interfere with adhesive under the new film. Run a fingernail lightly across the surface in a few spots. If it catches or feels tacky at all, another alcohol wipe is worth the extra five minutes.

Temperature matters more than most people expect. Tint adhesive bonds best between roughly 60 and 85°F. Installing in a cold garage in January or a scorching driveway in July both lead to weaker bonds and a higher chance of edge lifting later. If you’re doing the reinstall yourself, pick a mild day or a heated space.
Check for tiny scratches from the removal process under bright, angled light before committing to new film, since film applied over a scratched surface will show every flaw once it’s tinted. A clean, dry, scratch-free surface is what actually determines whether new film lasts three years or barely makes it through one Calgary winter. Reapplying tint is also a good moment to weigh the broader benefits of window film, including UV blocking and heat reduction, if you’re deciding how dark or heavy to go this time around.
Most side windows are genuinely doable at home with a $40 steamer rental and an afternoon. Where we draw the line is rear glass with visible cracking in the old film, any window where the defroster already looks marginal, or scratches you can’t account for. Professional equipment holds a steadier temperature than a hair dryer, and that consistency is what actually protects delicate rear glass, not skill alone.
Renting a steamer for a weekend usually costs less than buying one outright if this is a one-time job. Shop pricing for full removal typically runs $25 to $75 per window or $150 to $350 for a full vehicle, which is worth weighing against your own time and the risk of a defroster repair bill.
If the DIY route sounds like more risk than you want to take on your rear glass, that’s a task better handled by professionals with experience. Experienced teams remove old, degraded tint safely, strip the adhesive completely, and inspect for scratches or defroster wear before new film goes on the glass, avoiding the risks of DIY removal.

Booking is straightforward: existing film and adhesive conditions are inspected first, rear defroster lines are handled carefully, and the glass is cleaned to a bare, haze-free surface before quoting reinstallation. From there, most clients move straight into fresh window tinting in Calgary, and some pair it with ceramic coating for added UV protection on the glass and body. If your paint could use protection too, our carbon fiber and PPF options cover that in the same visit. Consider contacting a professional service to get an estimate on removal and re-tinting before deciding to do it yourself over a weekend.
Steam or heat the film until it’s warm and pliable, then peel it at a shallow 15 to 30 degree angle, working in sections rather than pulling one big sheet.
It can loosen adhesive in a pinch, but it leaves an oily film that needs a thorough alcohol wipe afterward, so isopropyl alcohol or a dedicated adhesive remover is a cleaner first choice.
Isopropyl alcohol at
or higher handles most residue when you soak it for a couple of minutes before scraping; Goo Gone or a 3M adhesive remover works on tougher, older glue.
Not if you use plastic scrapers and keep heat moving, but metal blades and prolonged heat on one spot, especially near rear defroster lines, are the main causes of scratches or line damage.
Most side windows take 20 to 40 minutes each once the film is warmed up, with a full vehicle typically running 3 to 5 hours including adhesive cleanup.